How To Paint Aluminum Siding
If you want to learn how to paint aluminum siding you should probably talk with someone who has done it. That would be me.
I confess I've only done it once, but the lessons are fresh in my mind and a mere three months ago I was in your shoes.
If you want to know more about my color selection for my house, try my exterior house paint color article.
A Quick Summary of How To Paint Aluminum Siding
1. PREP, PREP, PREP
2. Choose the right paint
3. Use good technique
4. Celebrate
Okay. I skimped on details. But I did call it a summary.
Let's get to those details.
The Long Boring Details of How to Paint Aluminum Siding
Prep
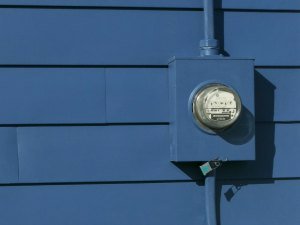
Remove the Removables
|
|
Clean the Surface
Aluminum siding has a baked on finish. It lasts a long time because it never loses its bond to the aluminum. Instead it fades away from the top.
On old aluminum siding you get a lot of chalking. This chalking will interfere with the ability of any new paint to stick. Which means your new paint will start to peel long before you want to paint again.
That chalk has to come off. Along with any mildew. And cobwebs.
I had all three. Lots of all three.
Here is how I did it.
1. A pressure washer.
2. TSP
3. Bleach
4. Sandpaper
Pressure Washer
Almost every article on How to Paint Aluminum Siding will mention a pressure washer. There is a reason.
A pressure washer will make your cleaning job a lot easier. I rented a gas-powered pressure washer. It had the power to get the job done. I considered buying a smaller, electric washer. I am pretty sure there were places on my house where that would not have worked. There were places where I had to get really close with the nozzle to blast several decades of gunk off the walls.
I have read that most of the electric pressure washers lack the power to get clean the chalk off the siding. I am inclined to agree. If you stay close to the work surface they will probably work, but you won't be able to do it from several feet away like you can with the big boys.
Be advised: pressure washers are powerful beasts. They can knock you off your feet. You can probably handle them on solid ground. I was on a ladder.
Do not get too big a pressure washer if you are going to be working on a ladder. I'm sure a size or two bigger and I would have been off the ladder very quickly.
Pressure won't do it alone. Make sure you use the kind that allows you to mix soap in with the water. In my case a little hose attachment from the pressure washer sucked it up from a gallon jug of concentrated soapy bleach water.
You don't actually blast it with the soap. When it is shooting soap it is in a low-pressure mode. When you are in high-pressure mode you are shooting just water. You take turns. Soap. Blast. Soap. Blast.
TSP
TSP is Tri-Sodium Phosphate. They sell it at paint stores and at Lowes and Home Depot in the paint departments. Its just an old fashioned detergent that still has phosphates in it. They removed phosphates back in the 70's. It got into the water and encouraged algae growth which cut off the oxygen to the fishies.
It was good that they quit using phosphates, but the limited amount they sell in paint stores isn't going to hurt your local lakes. And it is good for your bushes and lawn.
TSP will help remove the chalkiness. If you don't use it then find a specialty product made for cleaning aluminum siding.
TSP isn't just for painting aluminum siding. It is a good cleaner before painting almost any surface.
Bleach
Bleach is needed to kill mildew. If you live in Arizona you may not need this. I had a big problem on the North side of my house.
If you fail to kill and remove the mildew then the mildew will grow beneath the paint and will seep through the paint and you will have mildew that you may not be able to get rid of.
My first experience killing mildew with bleach was when I was twelve. We had a long, white fence that turned green every year. Back then we used a pressurized tank full of soap and bleach, the same kind of tank used to spray pesticide on fruit trees. They only cost about $20. Let the bleach do its work for about 10 minutes, then hose it off.
Sandpaper
I had this nasty, staining growth on my porch. I am not sure what it was. It didn't wash off. It didn't bleach off. Sandpaper did the trick. I used 80 grit and 120 grit sandpaper with an electric sander. In some places I hand-sanded.
Steel wool will also work wonders.
I was surprised that I didn't get down to bare metal with the sandpaper. I have read that you will if you use 60 grit paper.
Goo Gone!
On my caulk I had mildew but I also had a greasy coating that would not come off with soap or bleach. I found Goo Gone to be the only thing that worked. Then I had to clean the Goo Gone off with soap.
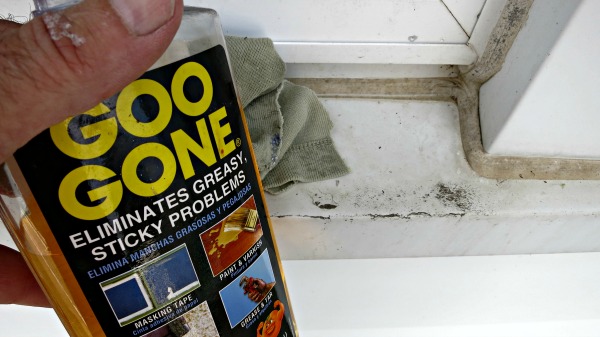 Here is what the caulk liked after washing but before using Goo Gone.
Disgusting! Here is what the caulk liked after washing but before using Goo Gone.
Disgusting! | |
 Here is a before and after pic.
The Goo gone isn't perfect, but I felt a lot more comfortable painting the stuff on the right than painting the stuff on the left. Here is a before and after pic.
The Goo gone isn't perfect, but I felt a lot more comfortable painting the stuff on the right than painting the stuff on the left. |
Repair the Repairables
If your aluminum siding is old enough to repaint, it probably has suffered some wear. There may be places that are dented, or you might even have holes in your siding.
In my case I removed shutters and made the decision not to put them back up. These were plastic shutters attached with screws, so all those screw holes needed to be filled in.
There are two ways to do this, the right way and the wrong way.
The wrong way is to use caulk. It is the wrong way because you will never truly disguise that there used to be holes there. To get a smooth finish will require multiple coats of caulk, as it tends to shrink, and a lot of effort. For that much work you could do it the right way.
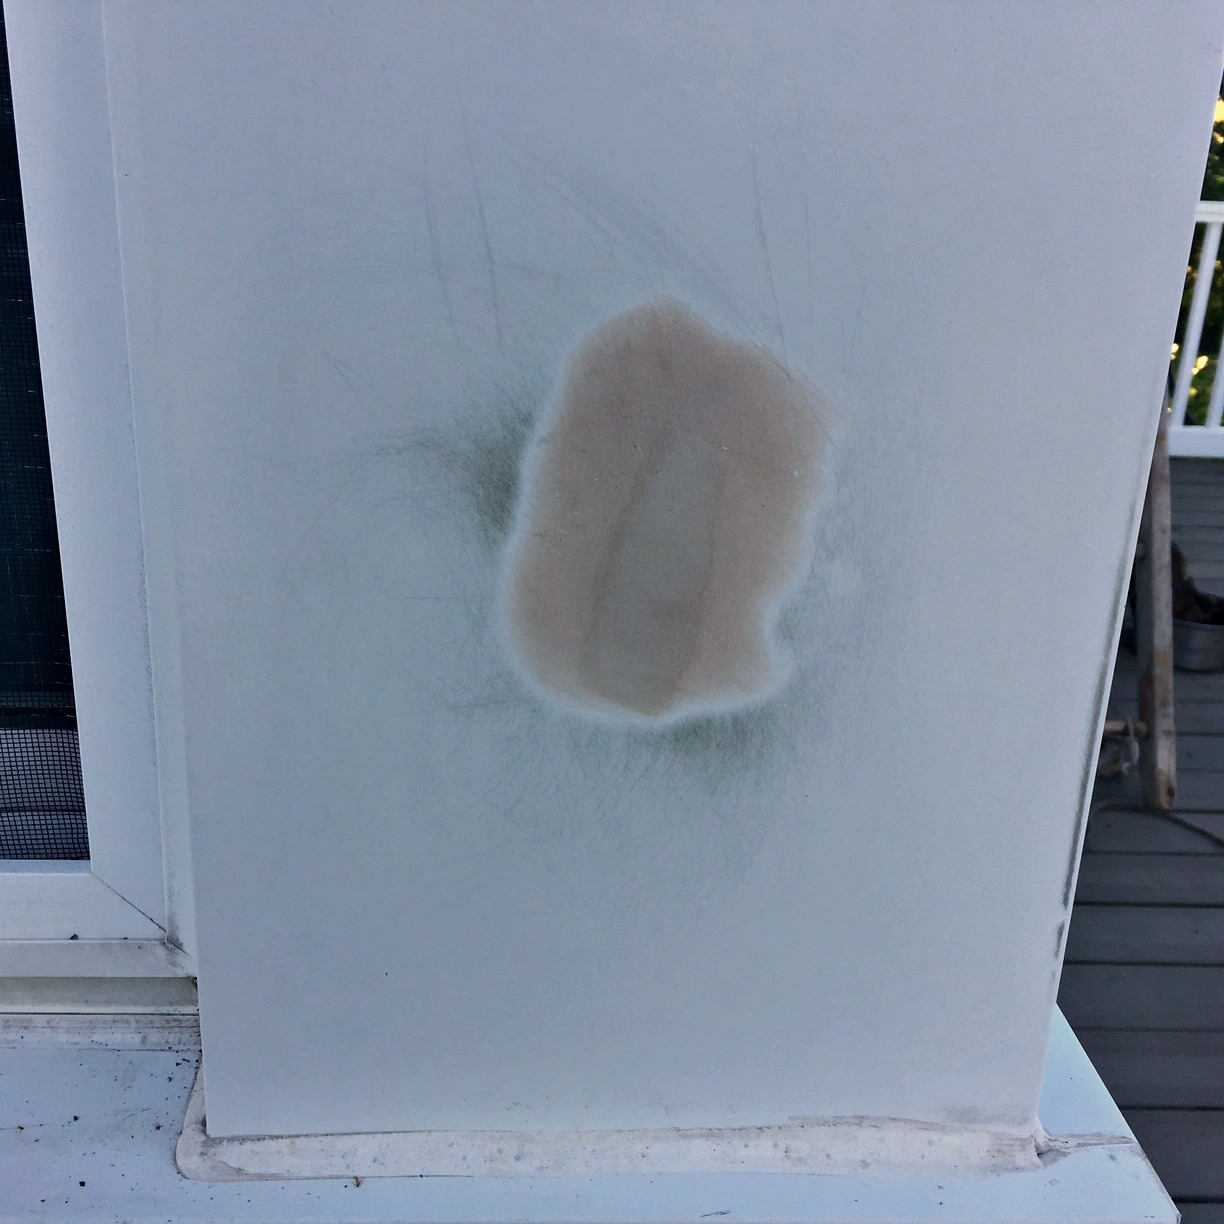 This is a dent filled with Bondo. I have applied two coats of Bondo. You can tell because of the different color in the center. It has been sanded down. Since I am priming going down to bare metal is not a problem.
The right way is to use Bondo, or a similar product. Bondo is an epoxy that dries hard and can then be sanded smooth. It didn't take too long for me to figure out how to handle it and once I did it was easy.
The trick is not to make too much up at once. With Bondo you mix two ingredients. It takes a minute or so to mix it. Then you have a few minutes to apply it and smooth it out. After that it starts to harden and you can't work it properly. From first mix to too hard to work is probably about 5 minutes.
The good new is, if you mess up, you can sand it down and try with a second coat. I filled some very large, awkward holes with Bondo.
After I painted my aluminum siding I could not tell where I had patched the holes.
Mask and Protect
I didn't do much masking. I used tape and paper to protect my stone columns and I used drop cloths on my roof and on my porch floors.
However, if you apply paint with a sprayer you will need to do a lot of masking. Spraying saves lots of paint time, but it makes up for a lot of it with extra masking.
Choose the Right Paint
Aluminum oxidizes and this can come in contact with ammonia in latex paints and cause little bubbles under the paint. In time these cause the paint to peel away from the siding.
Not all latex paints contain ammonia. I understand that this used to be more of a problem than it is now. The ammonia content in modern paints is low and shouldn't cause off-gassing.
However, I painted the aluminum siding on the bottom side of my eaves a few years back and it did not last. I had to scrape that paint off during my prep phase. No fun.
I've seen it promoted that you can paint right on top of painted aluminum siding only using an acrylic latex top coat. The idea is that the original paint will serve as the primer. So long as you aren't painting bare metal you should be fine.
As I said, my experience is that this could be a disaster.
Another problem is that even with a pressure washer and soap and bleach some chalk will remain, or it will form afresh. This chalk interferes with paint's ability to bond with the surface. A good bonding primer will help make sure there is a good bond.
When I painted I asked the smartest painter I know, Mark Holt, what he did when painting aluminum.
He suggested using Porter PP515 Bonding Primer, and Benjamin Moore's Aura for a top coat. He has been using that for ten years, and hasn't had to repaint any of those jobs.
That is exactly what I did.
There is a catch. Porter is sold alongside PPG products, but in my area none of the PPG places carried the 515. I had to go to a different city to find a place that carried it.
Porter PP515 is white and can be tinted, but will only get as dark as a light gray or light blue. If you are going to use a dark top coat they also have Porter PP15xd. Again, there was a problem getting that product in my area. I settled for the 515. I did not ask, but perhaps they could have ordered it for me.
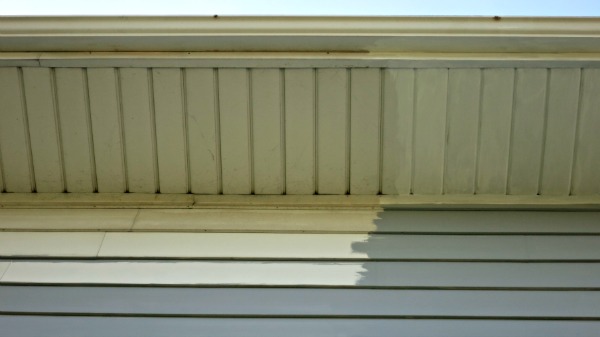 Here I have an unpainted section of wall, an unpainted section of eave, a primed section of eave, in white, and the wall primed in gray. Note how much better one coat of gray does compared to the one coat of white.
Benjamin Moore was a little easier to find. Make sure you specify Aura, as they have cheaper products.
My experience with primers is that they aren't as easy to work with as top coats and they don't smooth out quite as nicely. The Porter was the same way.
The Aura top coat was much easier to work with although I needed two coats in places, since I was not able to find the 515xd and I painted my house a dark blue.
I am less satisfied with the white Aura I used on the trim. I needed two coats to keep the white primer from showing, even though they are close in color.
Use Good Technique
Factory paint on aluminum siding is going to be smooth. The siding itself might have a wood grain texture, but the paint won't.
If you want that same look you will need to spray the paint on. I have done this in the past. With a good sprayer and paint free of debris you can get a professional look. But....linger too long in an area and it will start to run. If the paint starts to skim over it will clog your nozzles and the will splatter the paint instead of spraying.
If you are going to spray you need to be able to move back-and-forth. If you are stuck on a ladder you can't do a good job spraying. Some of the time our sprayer will be close to the surface and sometimes far away so you will end up with an inconsistent spraying pattern. So for spraying elevated surfaces you need scaffolding.
Since I was painting a two-story and lacked scaffolding I opted for to roll the paint on. Or so I thought. With a roller I found it impossible to get the bottom of the lap, and since you can only go back-and-forth, I was getting barespots.
In the end I used a brush and a pad. I thought the pad gave a slightly better look, but a brush was quicker. By the end of the project I has switched over to the brush 100%.
If your painting experience is limited to indoor painting you have been coddled. If you have only painted wood in the past you have been spoiled.
How to Paint Aluminum Siding - In the Shade!
Painting aluminum outdoors in the summer is a challenge. The sun is bearing down on you and the siding, and it is hot. The paint gets thick and hard-to-work very quickly. I ended up timing my work to stay in the shade. I learned this while working with the primer. Some of my early work is a mess. By the time I got to the top coat it was autumn, and I was smart enough to time my work to avoid the hot sun.
With a brush you will have little striations in the paint. The hairs on the brush leave a mark. The key is to make them all go the same way and to smooth out the paint by dry brushing at the edges of your painting area.
Half the battle in keeping the paint smooth is control how much you are working with. If you put too much paint on all at once it will start to thicken up before you can get it all spread out and smoothed out. Once it gets thick it gets hard to control.
Also, periodically freshen up your brushes. When the paint is getting thick and heavy on your brush, dip it in some water then wipe off the water on some newspaper. Your brush will me much easier to use after you do this.
Proper brush technique can give your painted aluminum siding a very nice texture. If you don't know good brush technique there are several good videos on Youtube.
A Word of Warning for How to Paint Aluminum Siding
I have yet to see an article that tells you about the two worst problems I encountered painting aluminum siding.
Bugs
I painted to last light, but that is about the time that certain little small black bugs came out. Evidently they have been using my siding as a meeting ground for years. Now they are permanently part of my paint project. They cover up nicely. I just hope this doesn't create a problem on down the line.
Condensation
In the summer the mornings are often wet with condensation. Some times this starts as soon as the sun goes down. If you have paint that is still wet and condensation drips start rolling down your paint......not good. I had to repaint those sections of aluminum siding where the condensation rolled down the fresh paint.
I had this problem more with the primer. It dried more slowly. Also the days were dryer in the fall, so there was less condensation.
Expansion and Contraction
Aluminum and vinyl sidings expand and contract. Both suffer this same problem. Aluminum siding will typically have an overlap where one band of siding overlaps the next. When it gets hot the two will overlap a little bit more. When they contract they overlap less.
When painting aluminum siding expect that the contractions in deepest winter will reveal some unpainted strips. You could remove the siding and paint each length of aluminum then reinstall it, but we both know you aren't going to do that
It doesn't look terrible. It just doesn't look perfect.
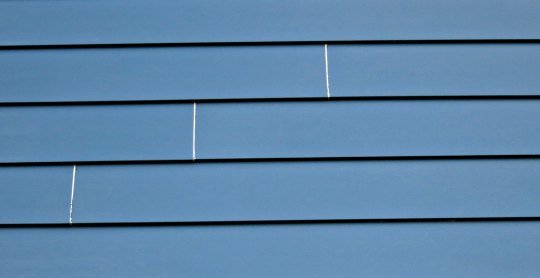 At 20 degrees fahrenheit this is what is revealed. I painted this at about 80 degrees. Its not apparent at 50 degrees, but the unpainted section starts to show as it gets miserable outside. On a sunny day, even when its cold, some of this will disappear.
A Quick Summary of My Paint Project
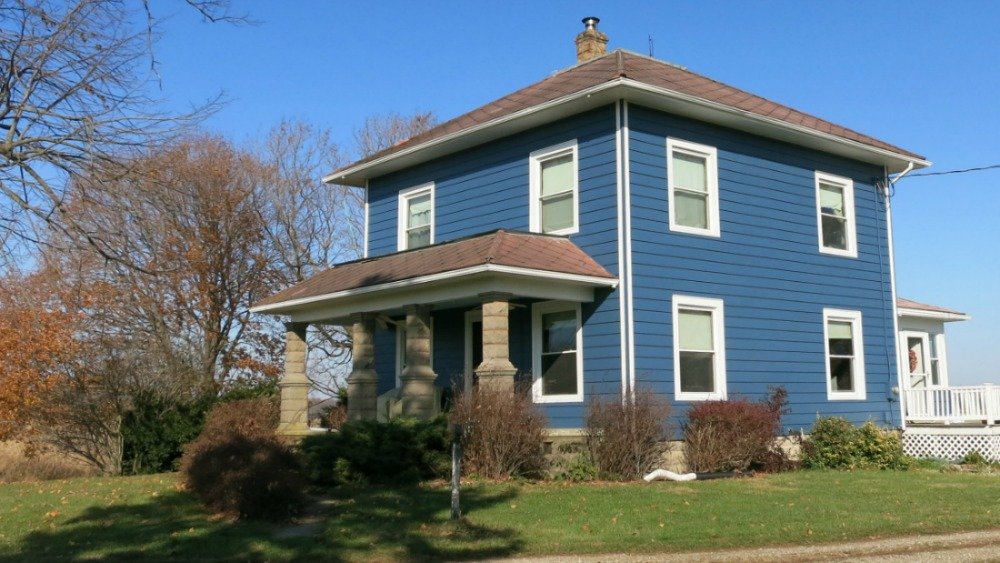
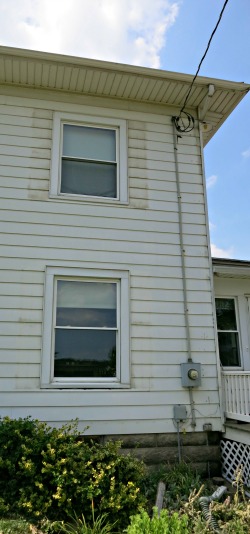
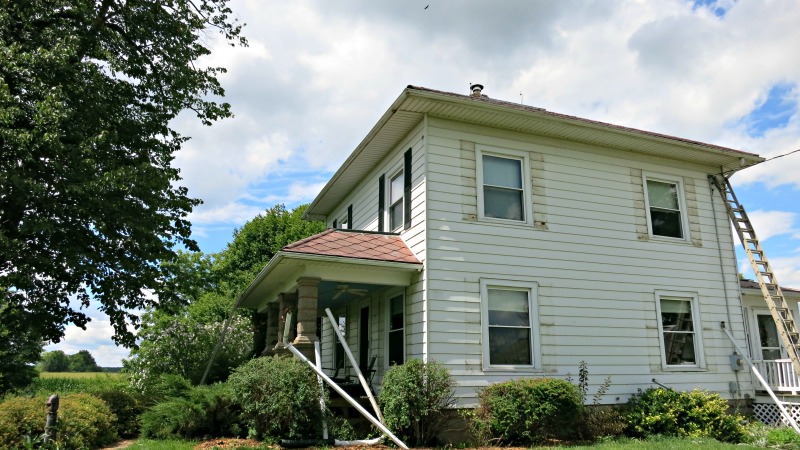
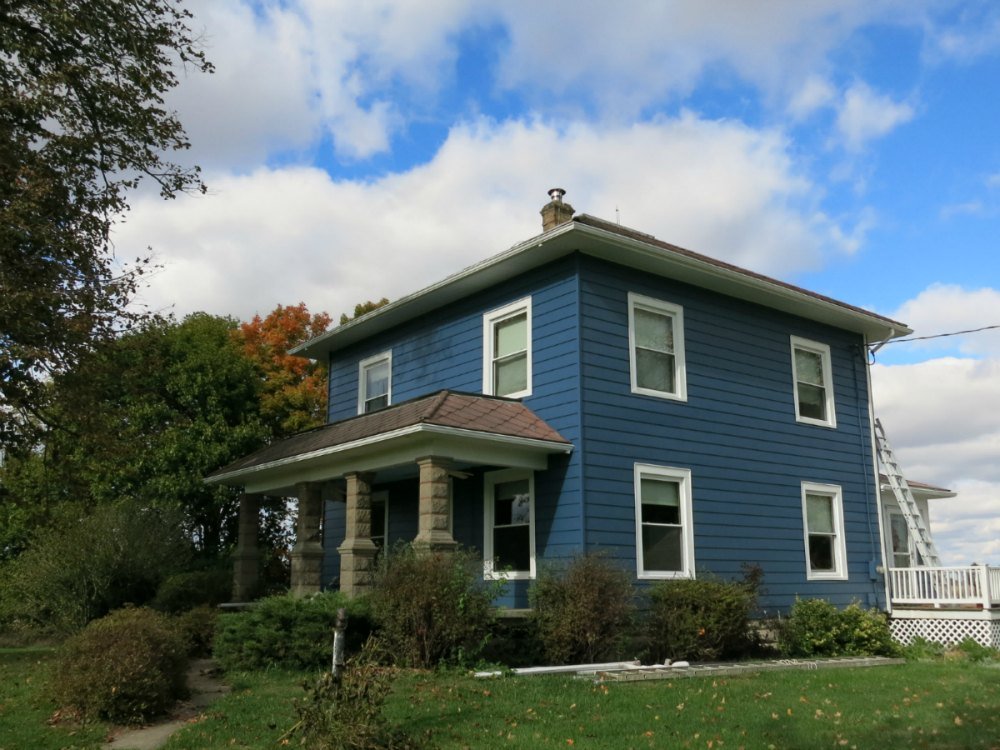
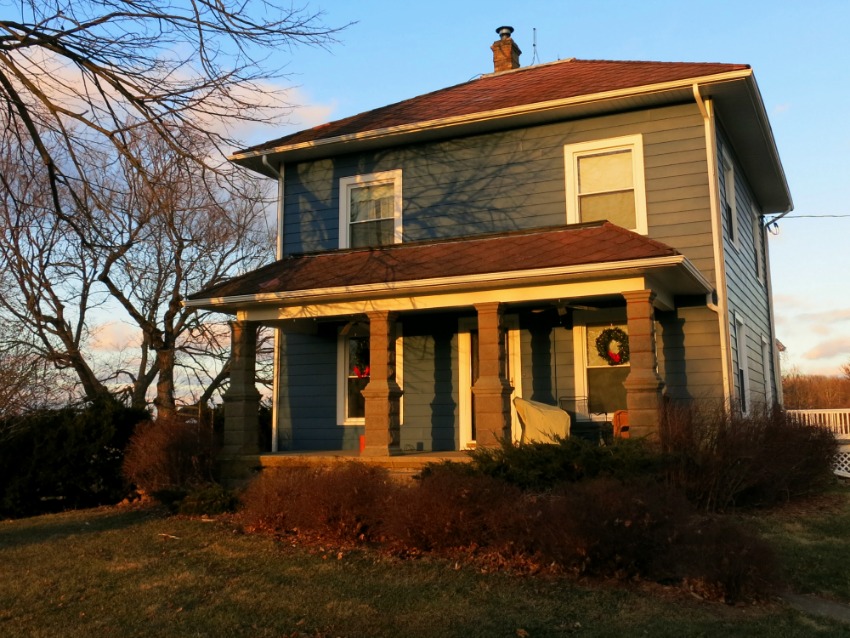
I painted a two-story farmhouse that still had the original factory coating after about fifty years. It was chalky. It was down to bare aluminum in places. It had discolored and become rough where it was protected from the bleaching effects of the sun.
I removed all the gutters, removed the shutters, cleaned it with a pressure washer, repaired the holes, primed it and painted it. This included the eaves and gutters. From start to finish was about three-and-a-half months. Mostly that was after work in the evenings and Saturdays. I had some help, but mostly it was me.
I am still reinstalling the gutters, but first I am adding some trim boards that were not there before.
It is beautiful, but I am worn out.
In retrospect I think I should have rented scaffolding and used a paint sprayer.
To Top of How to Paint Aluminum Siding
Changing Your House Siding Colors
How to Choose Your Exterior House Colors
A Look at Exterior Color Options
Problems with Painting Vinyl Siding
Please!



New! Comments
Have your say about what you just read! Leave me a comment in the box below.